

One of the YouTube channels I follow is "Black Magic Craft" which is an excellent DIY terrain making and gaming channel that details projects with both advanced and beginner techniques. A while back I saw him do a set of simple ruined walls which he could also use and Dungeon walls and I though it would be a good first project for my new studio. You can find the Video here:

The most tedious part of course was cutting the bricks out of the tile. I chose to make my bricks 1/4 inch by 1/2 inch. The tiles are not quite 1/4 inch thick so you need to keep that in mind when laying the brick patterns or it will throw your build off.

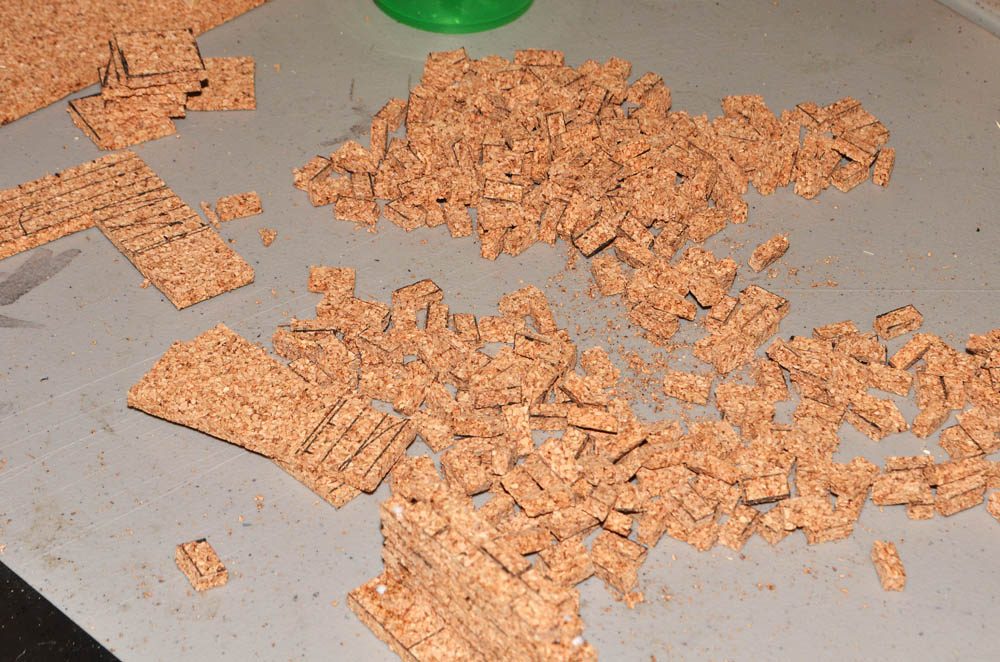
My wife also made a set using similar methods. Here she is laying the bricks out. I would say our bricks are around 20% smaller than the foam bricks used in the original project but because the cork already has a natural texture we were able to skip the steps involved in adding texture. It's also okay if some of your bricks are slightly thicker from side to side than others because they actually improves the texture of the wall. I felt like this was not exactly a speedy project but I have done much more tedious builds.

I have perhaps 6 hours in this build so far and I feel like I can probably stop once I have used up one package of four tiles. Our primary interest in making these walls is to get some terrain together for Frostgrave which is usually played on a 3x3 foot table. We also plan to make some static ruin buildings and other features so we don't need to cover the entire space with these ruins. I also feel like that will give me enough walls that if I ever want to use them as Dungeon walls I'll have enough for the amount of Dungeon I normally place on the table.

I'm pretty excited to get these painted. I still need to add a bit of sand texture to the bases and some of the wall areas. I think I may make three tiles worth of sets like this one then make some interest pieces out of the last tile in the pack.
Based on the amount of time I have in on these I estimate I'll have the build finished in another six hours at most with probably three hours of painting time. That's a bit of a long build but it will produce a large amount of terrain so I think it will be worth the time investment.